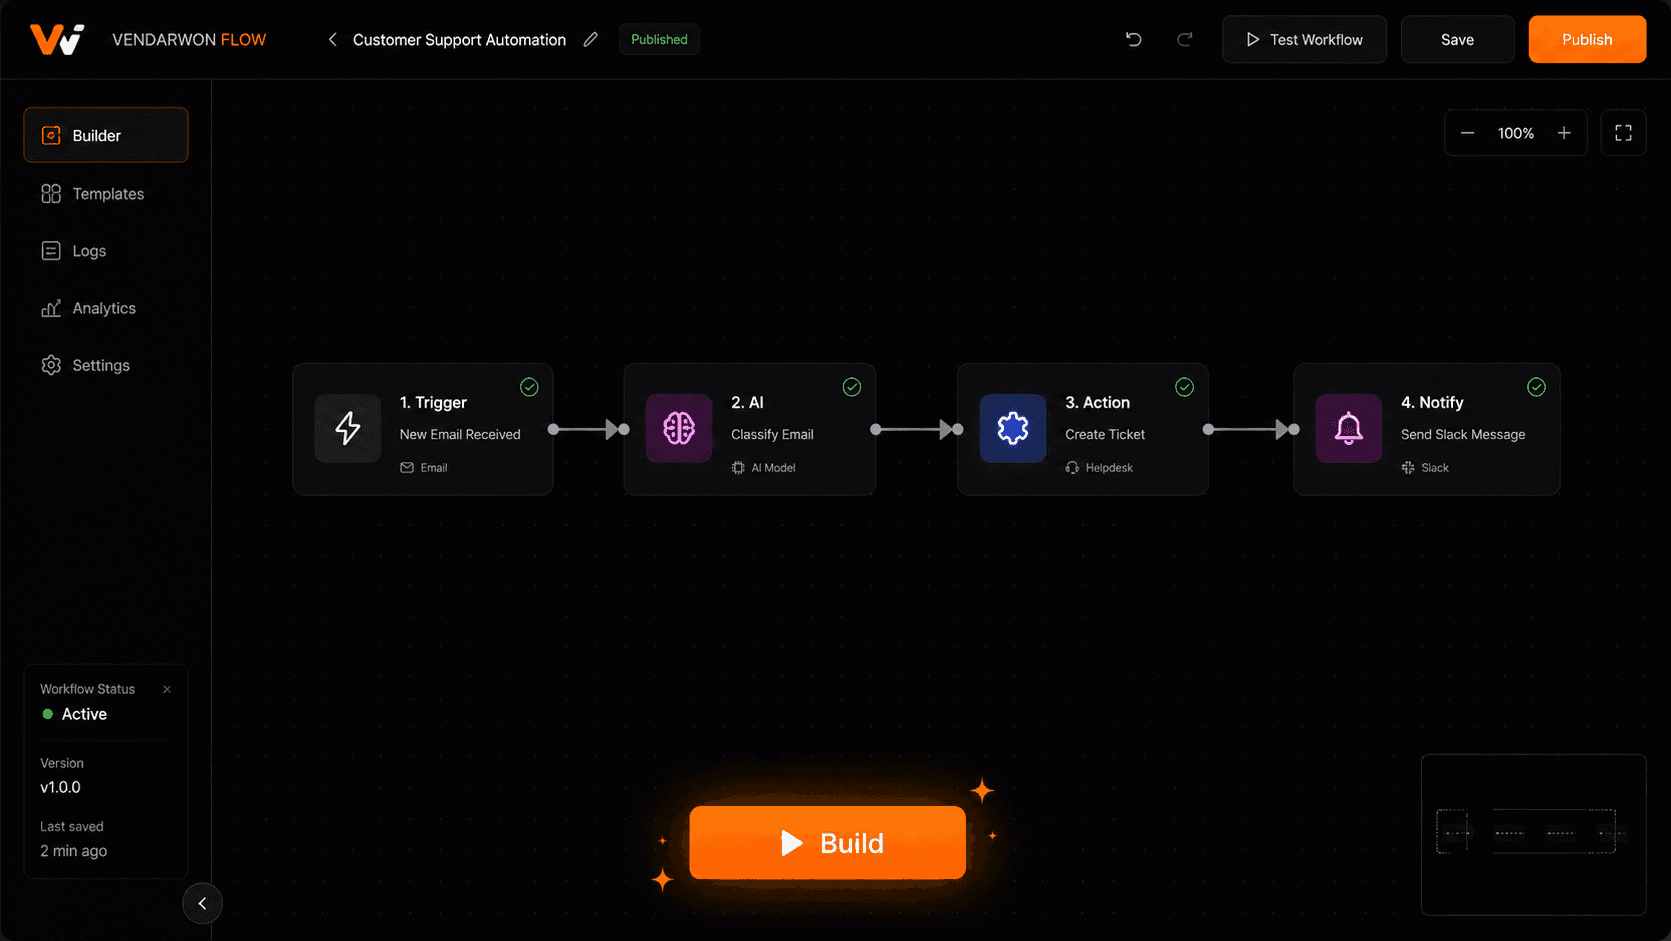
Building your first AI workflow feels intimidating until you realize how simple the core structure is. Every workflow is just: something triggers it, actions run, AI adds intelligence where needed, conditions branch the path, and the result gets delivered somewhere. This step-by-step guide walks you through building a real AI workflow from scratch using Vendarwon Flow.
What we're building
In this guide, we'll build a lead qualification workflow: when a new lead comes in via webhook (e.g., from your website form), an AI node scores them 1–10, a condition branches on the score, and high-value leads get a Slack notification while lower-value leads get added to a nurture email sequence.
This covers all the core building blocks: trigger, action, AI node (with outputVar), condition branch, and activation.
Step 1: Choose your trigger
Every workflow starts with a trigger — the event that fires it. For our lead qualification workflow, the trigger is a webhook: your website form posts to a Vendarwon Flow webhook URL every time someone submits.
On Vendarwon Flow, go to the chat builder at /create and type: “When my webhook receives a new lead with name, email, company, and message, score the lead with AI and route them based on the score.” The AI will generate a webhook trigger node as the starting point.
Alternatively, you can use: a Gmail trigger (new email), a scheduled trigger (every hour), or any of the 42+ integration triggers. The choice depends on what starts your process.
Step 2: Add your first action
Before the AI scores the lead, we want to save them to our CRM so no data is lost even if later steps fail. Add a HubSpot action node: “Create contact with name={{trigger.payload.name}}, email={{trigger.payload.email}}, company={{trigger.payload.company}}.”
The {{trigger.payload.FIELD}} pattern accesses data from the webhook payload. This is how you pass data between steps — always use these template variables rather than hardcoding values.
Step 3: Add an AI node with outputVar
This is the step that makes your workflow intelligent. Add an AI node (type: ai_generate) with:
- Model: gemini-2.5-flash
- Prompt: “Score this lead 1–10 based on their message and company. Reply with a number only. Lead: Name: {{trigger.payload.name}}, Company: {{trigger.payload.company}}, Message: {{trigger.payload.message}}”
- outputVar: lead_score
The outputVar field is critical — it's how you reference the AI output in subsequent nodes. After this node runs, {{lead_score}}will contain the AI's score (e.g., “8”) and you can use it anywhere downstream.
Step 4: Add a condition branch
Now add a condition node that evaluates the AI output: “{{lead_score}}> 7”. This creates two paths:
- True path (score > 7): High-value lead — send Slack notification to #sales with lead details and score
- False path (score ≤ 7): Lower-value lead — add to ConvertKit email sequence for nurturing
In Vendarwon Flow, condition edges must be labeled “true” or “false” — the execution engine routes to the correct path based on whether the condition expression evaluates to true. Make sure your edges are labeled correctly or both paths will run (or neither).
Step 5: Test with a webhook
Before activating, test the workflow with real data. In the workflow editor, click “Test” — this gives you the webhook URL you can send a test payload to. Use a tool like Postman or curl:
Send a POST request with: {"name": "Sarah Chen", "email": "sarah@bigcorp.com", "company": "BigCorp Inc", "message": "We need to automate our sales pipeline for 50 reps urgently."}
Watch the execution trace — you'll see each node run in sequence, the AI score returned (probably 8–9 for this input), the condition branch taken, and the Slack notification sent. If anything is wrong, the trace shows you exactly where and why.
Step 6: Activate and monitor
Once the test run looks correct, click “Activate” on the workflow. It's now live — every webhook submission triggers the full flow automatically.
Check the Executions page after the first real runs to confirm the AI scores look reasonable, the condition is routing correctly, and the Slack notifications and emails are arriving as expected. If you spot an issue, deactivate, fix the node, and reactivate — your changes take effect immediately.
Advanced: add error handling
Once the basic workflow is running, add robustness. On each critical node (HubSpot, Slack, email), add an error edge that routes to a fallback action — for example, sending yourself an alert email if HubSpot fails to create the contact. In Vendarwon Flow, this is as simple as drawing an edge from the node with label “error” to a recovery action.
Build this workflow in under 5 minutes
Open the Vendarwon Flow chat builder, describe the lead scoring workflow, and the AI generates all 6 steps automatically. Free plan, no credit card.
Start building →